Fortinet Firewall Live!
Objective
Allow an external user (from the internet) to access a DMZ web server (e.g., DMZ Server) hosted inside the firewall using Static NAT (VIP). This is also known as publishing a service.
For example: Allow internet users to access a web application running on DMZ Server (192.168.2.10) through the firewall's public IP (192.168.100.1) on port 80/443.
Scenario Overview:
● DMZ Server IP: 192.168.2.10
● Fortinet WAN IP: 192.168.100.1
We want to publish DMZ Server’s web service to the internet on http://192.168.100.1
Step 1: Create a Virtual IP (VIP) Object for Port Forwarding
From GUI:
1. Go to Policy & Objects > Virtual IPs
2. Click Create New
● Select Virtual IP
● Name: DMZ-Web-VIP
● Interface: port1 (Untrust)
● External IP Address: 192.168.100.1
● Mapped IP Address: 192.168.2.10
● Port Forwarding: Enable
● External Service Port: 80
● Map to Port: 80
3. Click OK
From CLI:
Step 2: Create a Firewall Policy to Allow Incoming Traffic
From GUI:
1. Go to Policy & Objects > Firewall Policy
2. Click Create New
● Name: Untrust-to-DMZ-Web
● Incoming Interface: port1 (Untrust-Zone)
● Outgoing Interface: port3 (DMZ-Zone)
● Source: all
● Destination: DMZ-Web-VIP
● Schedule: always
● Service: HTTP
● Action: ACCEPT
3. Enable Log Allowed Traffic
4. Click OK
From CLI:
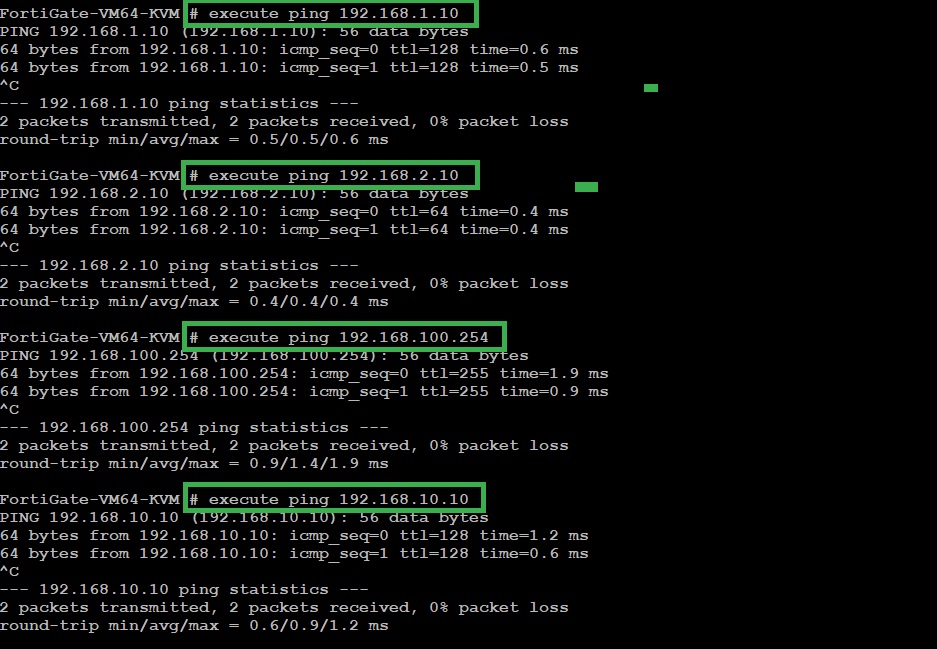
Step 3: Verification:
From an external client (Assume that workstation interface E1 is the external client):
Open a browser and go to http://192.168.100.1
If a web server is running on the DMZ Server, you should see its content (*** UniNets Server01 Default Page ***)
On FortiGate:
1. Go to Log & Report > Forward Traffic
2. Look for incoming sessions to 192.168.100.1:80 being translated to 192.168.2.10:80
