Fortinet Firewall Live!
Objective
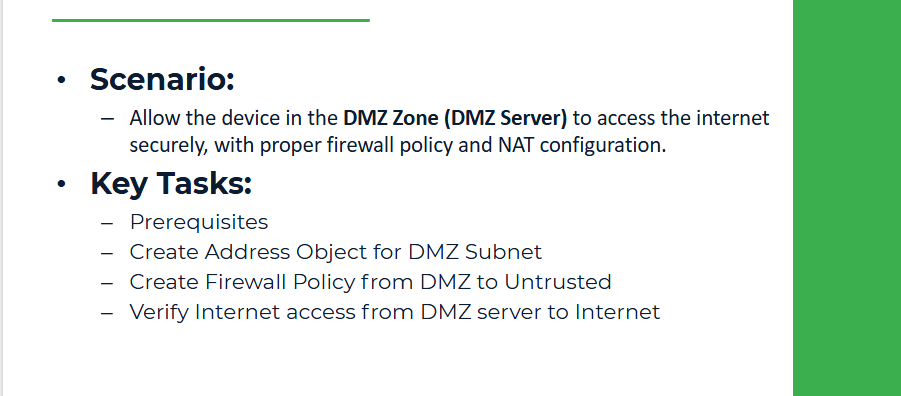
Allow the device in the DMZ zone (DMZ Server) to access the internet securely, with proper firewall policy and NAT configuration. This is useful when, for example, a public-facing server in the DMZ needs to download updates or reach a cloud service.
Prerequisites:
● DMZ Servere IP: 192.168.2.10/24, Gateway: 192.168.2.1
● Fortinet port3 (DMZ): 192.168.2.1/24
● Internet is reachable via port1: 192.168.100.1/24, Default route and DNS are already set (Lab 3)
We already configured zone mapping (Lab 2)
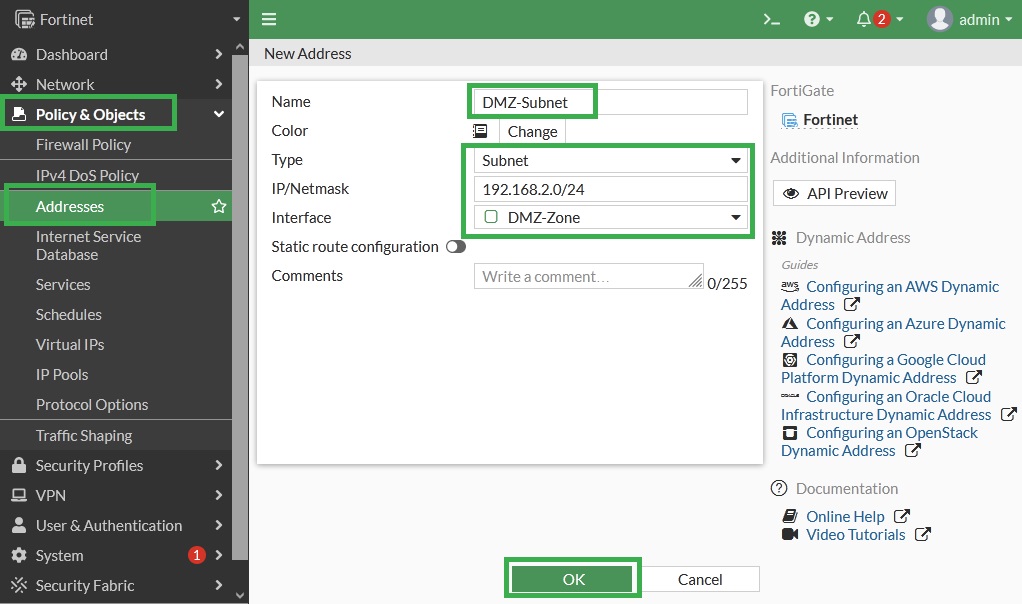
Step 1: Create Address Object for DMZ Subnet
From GUI:
1. Navigate to Policy & Objects > Addresses
2. Click Create New
● Name: DMZ-Subnet
● Type: Subnet
● Subnet/IP Range: 192.168.2.0/24
● Interface: port3 (DMZ-Zone)
3. Click OK
From CLI:
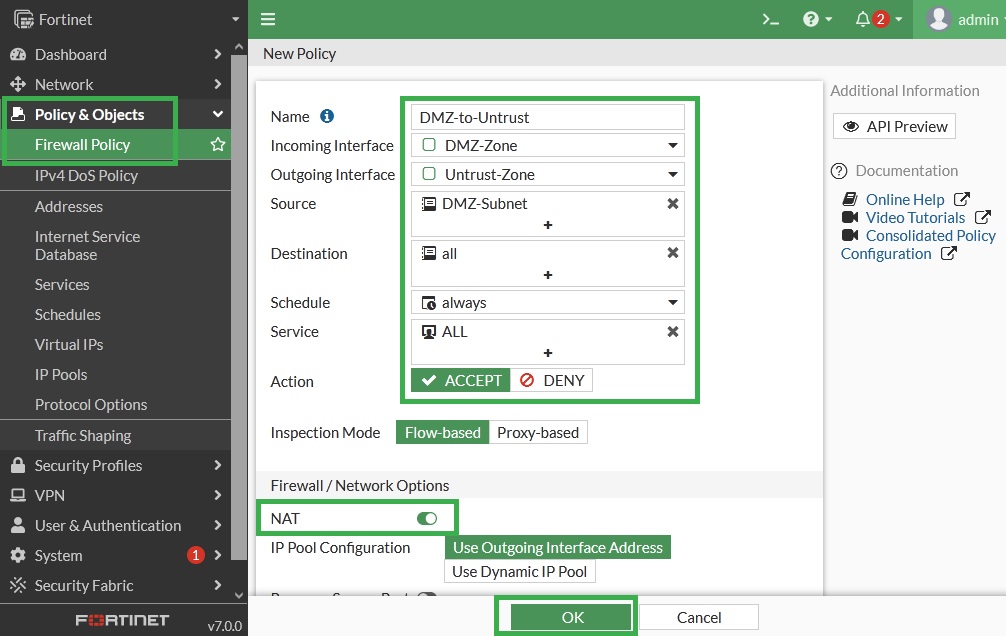
Step 2: Create a Firewall Policy from the DMZ to the untrust
From GUI:
1. Go to Policy & Objects > Firewall Policy
2. Click Create New
● Name: DMZ-to-Untrust
● Incoming Interface: port3 (DMZ-Zone)
● Outgoing Interface: port1 (Untrust-Zone)
● Source: DMZ-Subnet
● Destination: all
● Schedule: always
● Service: ALL
● Action: ACCEPT
● NAT: Enable NAT using Use Outgoing Interface Address
3. Enable Log Allowed Traffic → All Sessions
4. Click OK
From CLI:
Step 3: Verification:
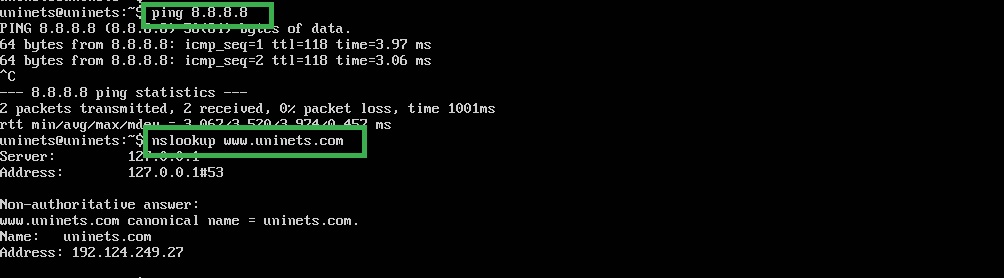
On the DMZ Server, open a terminal.
Test internet connectivity:
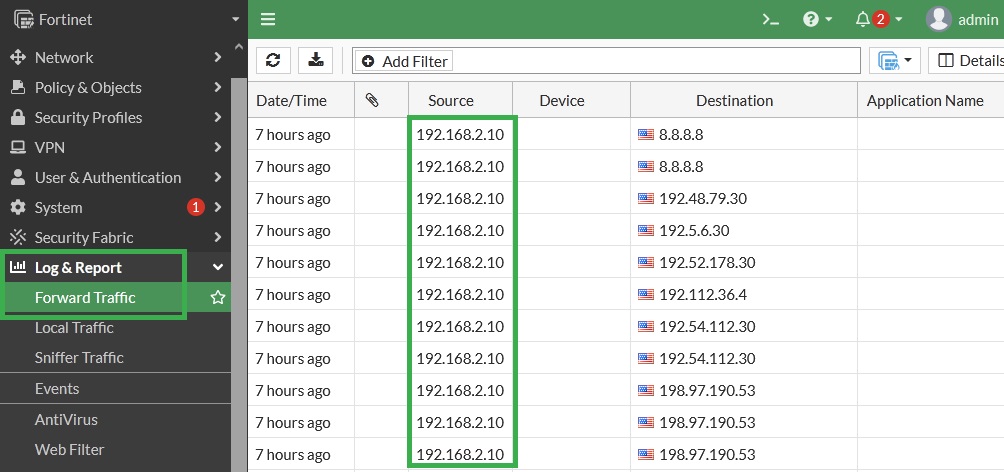
On Fortinet, go to:
● Log & Report > Forward Traffic
● Confirm sessions from 192.168.2.10 to the internet are logged.