Fortinet Firewall Live!
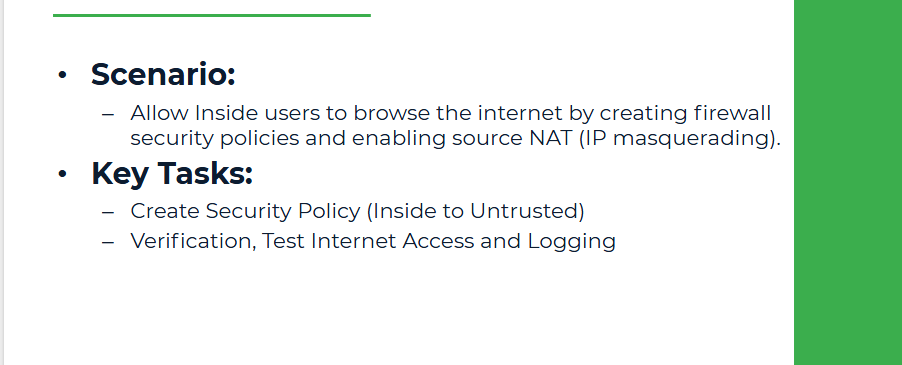
Objective:
Allow Inside users to browse the internet by creating firewall security policies and enabling source NAT (IP masquerading).
Step 1: Create Security Policy (Inside to Untrust)
From the GUI:
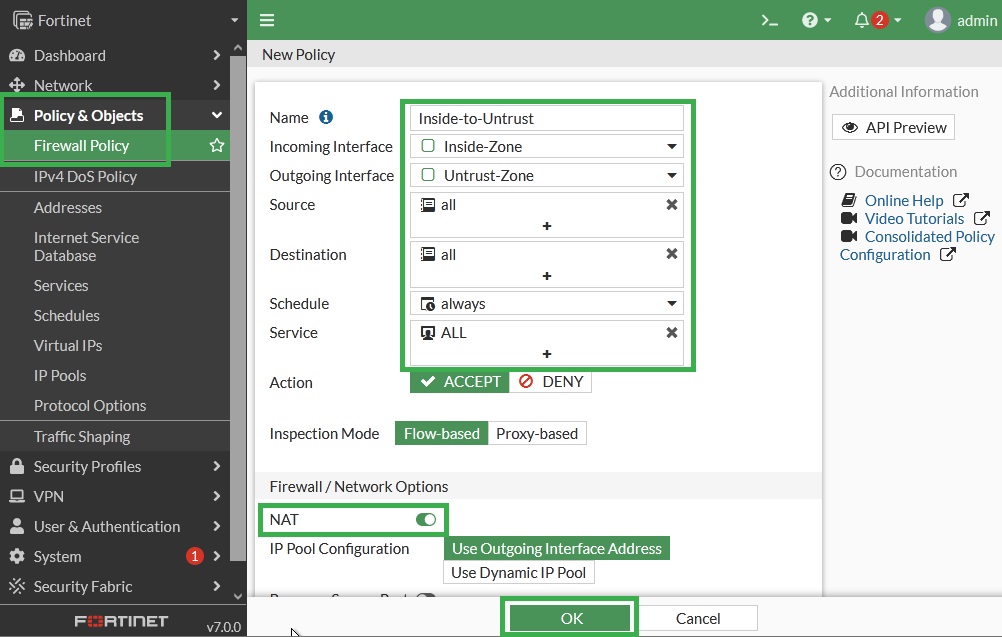
1. Go to Policy & Objects > Firewall Policy
2. Click Create New
● Name: Inside-to-Untrust
● Incoming Interface: port2 (Inside-Zone)
● Outgoing Interface: port1 (Untrust-Zone)
● Source: all (or create an address object for Inside subnet: 192.168.1.0/24)
● Destination: all
● Schedule: always
● Service: ALL
● Action: ACCEPT
● NAT: Enable
3. Use Outgoing Interface Address
4. Click OK
From the CLI:
Step 2: Verification:
1. Test Internet from Inside PC:
Open browser → try http://www.uninets.com
2. Use command prompt:

3. You should receive replies. If not:
Double-check the policy’s source/destination interfaces.
Make sure NAT is enabled.
Ensure PC is pointing to 192.168.1.1 as default gateway.
4. Optional Logging:
From the GUI, in policy settings, enable:
Log Allowed Traffic → All Sessions

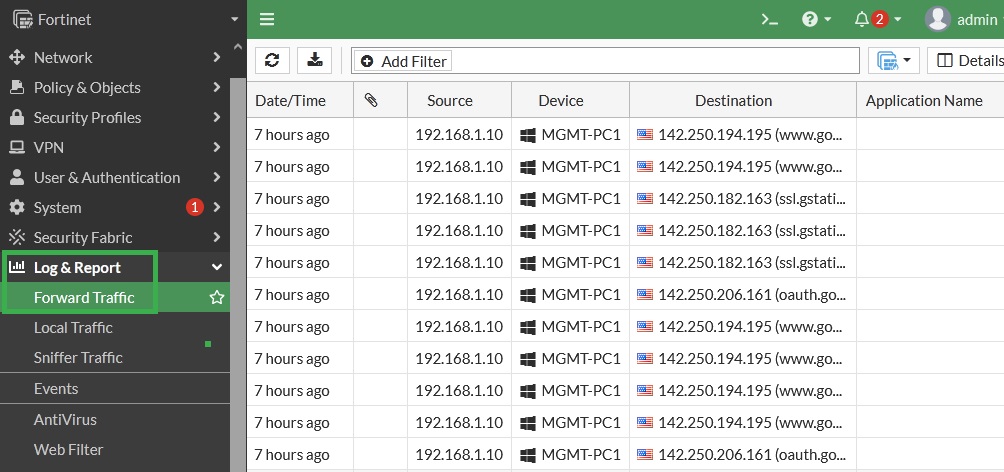
Generate the traffic on Inside PC and check the logs.
Go to Log & Report > Forward Traffic to monitor traffic flow.